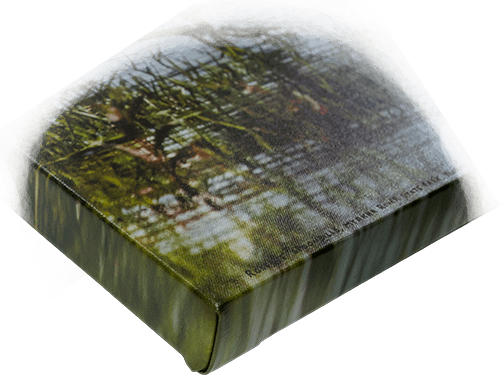
To download a printable version of this article (GalleryStretch.pdf), click here

As we discussed on the Services page of our website, we digitally “stretch” our image before wrapping it around the edge of our gallery-wrapped canvas images. Here’s how we do that:
- Save As …
Before doing anything else, save with a new name reflecting the new dimensions (so you don’t corrupt your master file later).
- Crop Your Image Oversized
Our gallery wraps are either ¾” thick or 1½”. On the thin ones, I usually take the ¼” strip along the edges and stretch it to 1″, thus having an extra ¼” to wrap around to the backside to cover for variations in the printing and stretching processes. On the larger ones, I take ½” and pull it out to 2″ (thus leaving ½” on the back). I wouldn’t stretch the image more than four times its original size, but you could go less.
To do this, you would add two times the width of these stretching strips to each image dimension before cropping. For example, if I want a 12” x 18” image stretched around a 1½” frame, I would crop the image to 13” x 19”. If it goes on a ¾” thick frame, crop it to 12½” x 18½”. Before finishing, make sure “Delete Cropped Pixels” has been checked. - Place Guides
Put guides ½” in from each edge (for a 1½” gallery wrap, or ¼” in for the ¾” wrap). Put another guide right on each of the four edges of your image.
- Enlarge Canvas
Increase the canvas size 3” in both dimensions to get 16” x 22” with the image centered (or increase 1½” for the thinner frame to bring the overall dimensions to 14″ x 20″).
To see the Note click here.To hide the Note click here.a. Click Image ⇨ Canvas Size…
b. Put a check in the Relative Box.
c. Make Width and Height 3 Inches.
d. Make sure the Anchor dot is in the center of the grid.
e. Hit OK. - Stretch Edges
I would then use a distort transform to digitally stretch the outermost ½” to 2” wide, filling the canvas.
To see the Note click here.To hide the Note click here.a. Make sure Snap is checked in the View Menu.
b. Use the Rectangular Marquee tool to select the ½” strip between the guides along one of the edges.
c. Click Edit ⇨ Transform ⇨ Distort.
d. Place the mouse cursor over the little square in the middle of the outer edge of the selected area and drag it to the edge of the canvas.
e. Hit the checkmark to finish the transform.
f. Repeat all the above with the ½” strips along the other three edges.
Actually, I first do the four corner squares separately using the scale transform (Edit ⇨ Transform ⇨ Scale), but since only a tiny bit along the edge of those squares has any chance of being seen, you could include them in either the horizontal or vertical strips (or even both).
Usually, when I stretch the edges like this, Photoshop leaves a thin white line along the inside edge of the stretched region. I fix that with the Spot Healing Brush tool on a separate layer. - Create Extra Canvas
Now I add a blank (transparent) edge around the image representing the canvas I need for stretching the canvas around the frame by increasing the canvas size by double the required margins in both dimensions, the same way we did above. That margin would be at least the width of the moulding along the bottom (1″ for the 1½” moulding we are using now) and enough extra to get a grip with the canvas pliers (for me, that’s at least ¾”). That would make the image’s final dimensions at least 19½” x 25½”. The skinnier moulding is 1½” along the bottom, so the final overall dimensions would be at least 18½” x 24½”.
- Finish
When I am finished adding canvas, I add layers with cut lines, fold lines, staple lines, positioning marks for the hanging hardware, et cetera, but that is a personal matter beyond the scope of this article. Save your file before exiting.
That’s about it. Feel free to leave comments or questions.
Leave a Reply